今回は、強引にgoogle の機械学習ライブラリ ML kit のflutter バージョンをコンパイルしてみましょう!!
Flutterを学びたいと思うモチベーションアップに繋がります。
要点は次の通り
- google ML kit flutterのexampleフォルダは、最新版のflutterに対応していない。
- flutter create example を実行して、libのソースのみ移植する。(何て強引な!!)
- 日本語や中国語のOCRが動かず、警告を発してコンパイルできない。
- 強引に警告を止めてコンパイラを走らせる。もちろん、日本語OCR機能は使えません。(フリーズします。)
とりあえず、Flutterを1ミリも理解してなくても、下記手順通りにしたら最新のGoogle ML kitで遊べます!!
Let's try!!!
google ML kit for flutter をgitで入手する
VSCodeを起動して、ターミナルで以下のコマンド(赤字)を入力してください。
cd flutter_src
git clone https://github.com/flutter-ml/google_ml_kit_flutter
.......
mv example example_org
flutter create example
.......
以上の作業で、google_ml_kit_flutter/packages/example_orgにバックアップができ、最新版のflutterでexampleフォルダを作ったことになります。
次に、今、作成したexampleフォルダのlibフォルダと、pubspec.yamlファイルを消します。
example_orgフォルダのlibフォルダと、pubspec.yamlファイルを、exampleフォルダにコピーしましょう。
libフォルダに、テスト用アプリのソースファイルが入っています。
pubspec.yamlファイルは、依存するパッケージのリストを記入する設定ファイルです。
強引に警告を止め、コンパイルを進める方法(暫定版)
普通なら、ここで「flutter clean , flutter pub get , flutter build apk」でコンパイルできるんですが、OCR機能が日本語に対応していないという警告が発せられ、コンパイルできません。
したがって、以下の手順で「強引に」警告を無視するように設定します。
「example/android/app」フォルダにある、build.gradle.ktsファイルを開き、下記赤字を追記します。
plugins {
    id("com.android.application")
    id("kotlin-android")
    // The Flutter Gradle Plugin must be applied after the Android and Kotlin Gradle plugins.
    id("dev.flutter.flutter-gradle-plugin")
}

android {
    namespace = "com.example.example"
    compileSdk = flutter.compileSdkVersion
    ndkVersion = flutter.ndkVersion

    compileOptions {
        sourceCompatibility = JavaVersion.VERSION_11
        targetCompatibility = JavaVersion.VERSION_11
    }

    kotlinOptions {
        jvmTarget = JavaVersion.VERSION_11.toString()
    }

    defaultConfig {
        // TODO: Specify your own unique Application ID (https://developer.android.com/studio/build/application-id.html).
        applicationId = "com.example.example"
        // You can update the following values to match your application needs.
        // For more information, see: https://flutter.dev/to/review-gradle-config.
        minSdk = flutter.minSdkVersion
        targetSdk = flutter.targetSdkVersion
        versionCode = flutter.versionCode
        versionName = flutter.versionName
        minSdkVersion(24);
    }

    buildTypes {
        release {
            // TODO: Add your own signing config for the release build.
            // Signing with the debug keys for now, so `flutter run --release` works.
            signingConfig = signingConfigs.getByName("debug")

            proguardFiles(
                // Includes the default ProGuard rules files that are packaged with
                // the Android Gradle plugin. To learn more, go to the section about
                // R8 configuration files.
                getDefaultProguardFile("proguard-android-optimize.txt"),

                // Includes a local, custom Proguard rules file
                "proguard-rules.pro"
            )

        }
    }
}

flutter {
    source = "../.."
}
ちなみにxxxxx.ktsは、Kotlinという、Googleが開発した改良版javaライクな言語用のファイルです。昔のアプリはKotlinで書かれてて、その名残ですね。Dart言語は、このKotlinの改良版らしいです。
次にbuild.gradle.ktsと同じフォルダ(example/android/app)に、「proguard-rules.pro」というファイルを新規作成し、以下の内容を入力します。VSCodeで作業しましょう。
# Please add these rules to your existing keep rules in order to suppress warnings.
# This is generated automatically by the Android Gradle plugin.
-dontwarn com.google.mlkit.vision.text.chinese.ChineseTextRecognizerOptions$Builder
-dontwarn com.google.mlkit.vision.text.chinese.ChineseTextRecognizerOptions
-dontwarn com.google.mlkit.vision.text.devanagari.DevanagariTextRecognizerOptions$Builder
-dontwarn com.google.mlkit.vision.text.devanagari.DevanagariTextRecognizerOptions
-dontwarn com.google.mlkit.vision.text.japanese.JapaneseTextRecognizerOptions$Builder
-dontwarn com.google.mlkit.vision.text.japanese.JapaneseTextRecognizerOptions
-dontwarn com.google.mlkit.vision.text.korean.KoreanTextRecognizerOptions$Builder
-dontwarn com.google.mlkit.vision.text.korean.KoreanTextRecognizerOptions
いよいよアプリのコンパイル!
後は、コンパイルするだけです。「example」フォルダで以下のコマンドを実行しましょう。
(user_id)@(machine_name):~/flutter_src/google_ml_kit_flutter/packages/example$ で以下のコマンドを実行

flutter upgrade      ←これは必ずしもしなくてもOK。最新化するために、1日の最初に1度だけ実行しましょう。
flutter clean
flutter pub get
flutter build apk
延々と警告が発せられますが、コンパイルは進みます。
...........
Running Gradle task 'assembleRelease'...                          119.4s
✓ Built build/app/outputs/flutter-apk/app-release.apk (403.5MB)
このように表示されたらOKです。非力なCPUだと、30分ぐらい待たされるかも!!
「build/app/outputs/flutter-apk/」フォルダに出来た「app-release.apk」を「google_ml_kit._example.apk」等にファイル名を変更してから、お手持ちのandroidスマホに入れ込み、インストールして実行してみてください。
日本語・中国語・韓国語OCR以外は動くと思います。楽しいよ!!
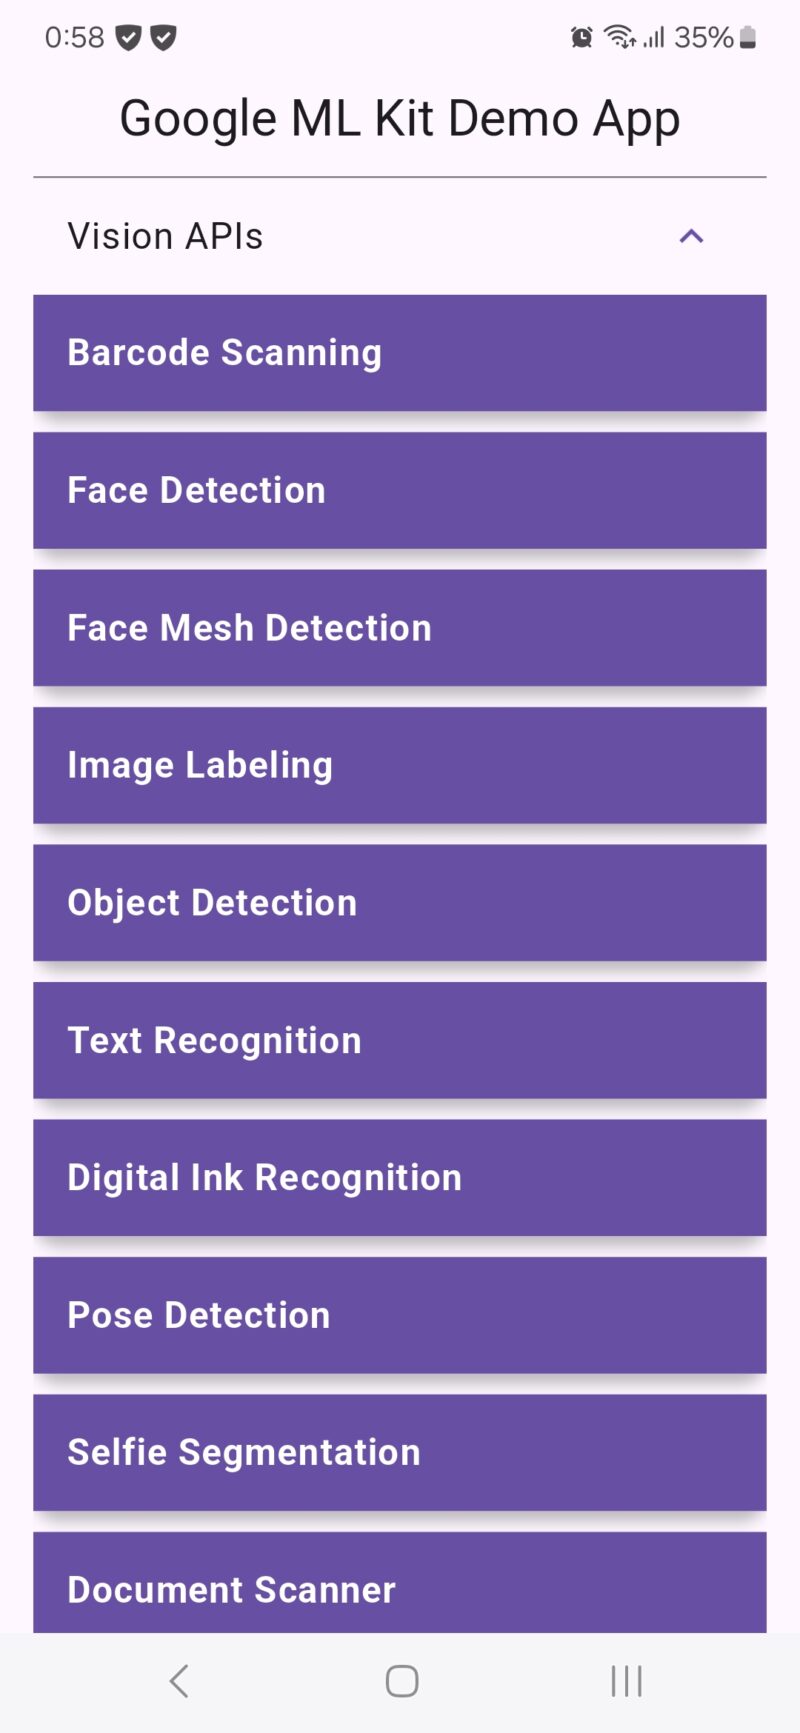
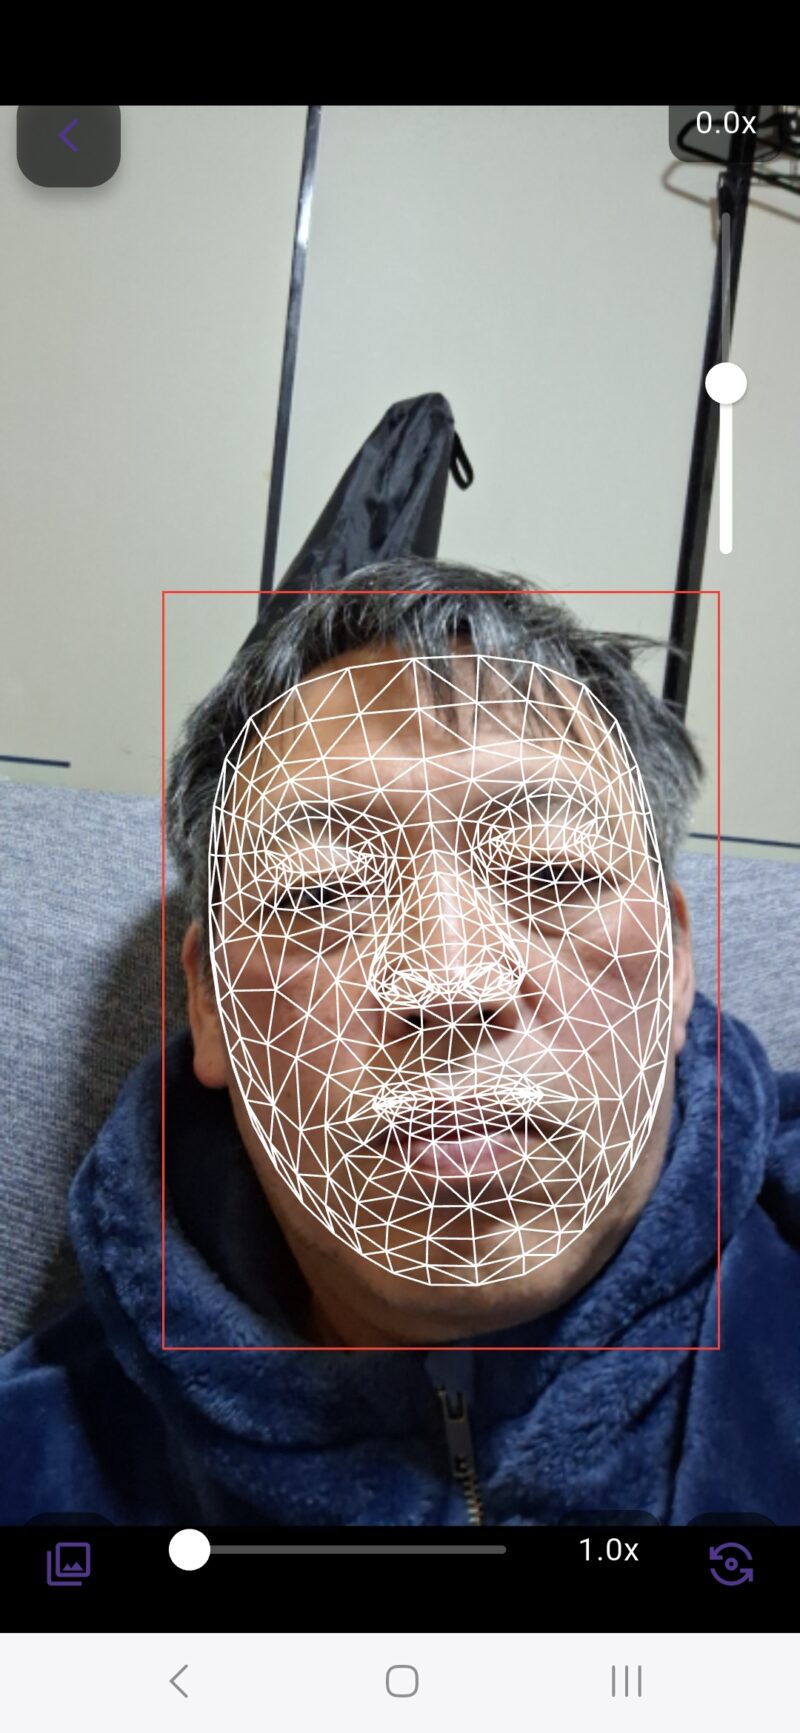
Face Mesh Detection
「Latin」のリアルタイムOCR
